Selling a vehicle through GarageHQ
If you're selling a car, the records you've built up in GarageHQ — MOT history, service history, mileage log, photos, and your parts-and-bills ledger — are exactly what a serious buyer wants to see. The sell flow packages those into a buyer-facing link with optional QR code, then optionally transfers ownership when the sale completes.
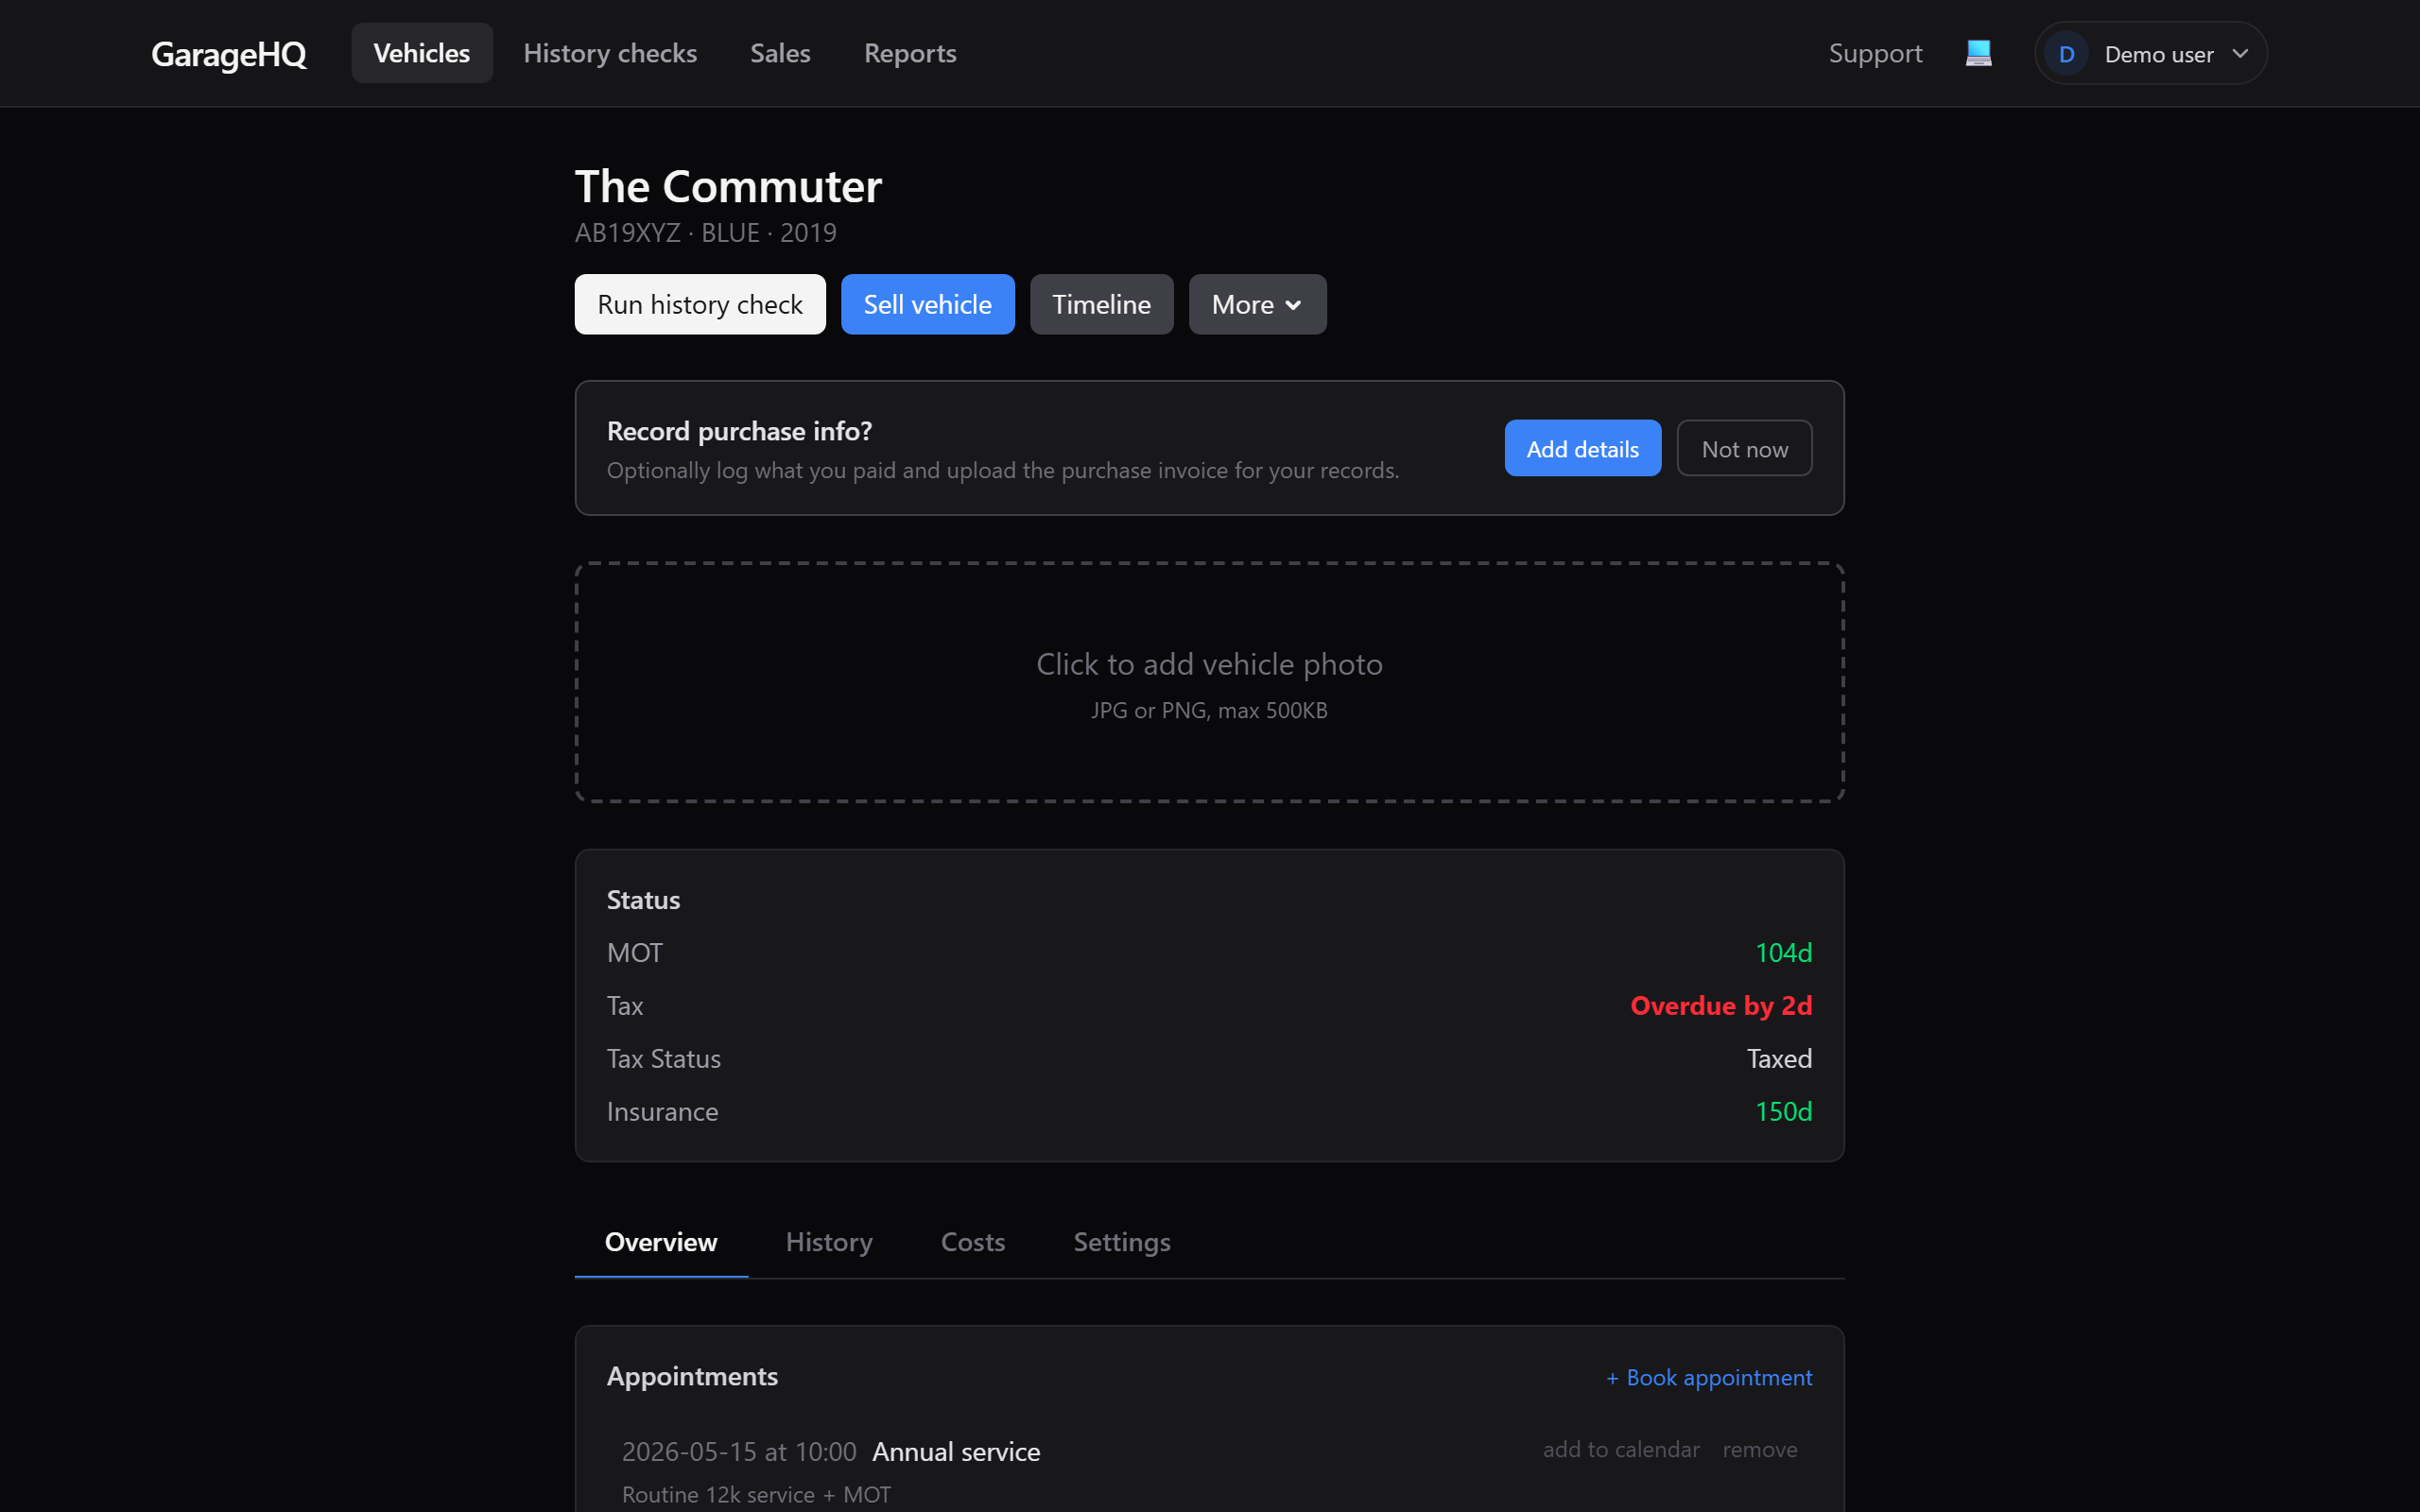
1. Click "Sell vehicle" on the detail page
The button sits in the action bar below the vehicle's title, alongside Run history check and Timeline. It's context-aware: the label changes based on what's already in flight for this vehicle.
- Sell vehicle, no listing yet, opens the create-listing modal (this guide's main flow).
- View seller pack, you've already created a listing, jumps straight to the buyer-facing pack so you can re-copy the link, view the QR, print, or email.
- Review transfer, a buyer has already claimed the listing, jumps to the transfer-confirmation page.
The button is hidden on the Personal plan since the sell flow is a Garage / Garage+ feature; if you don't see it and you're on a paid org, check your org's plan tier.
2. Pick what to share
The modal asks two questions: who's it for? and what to include?
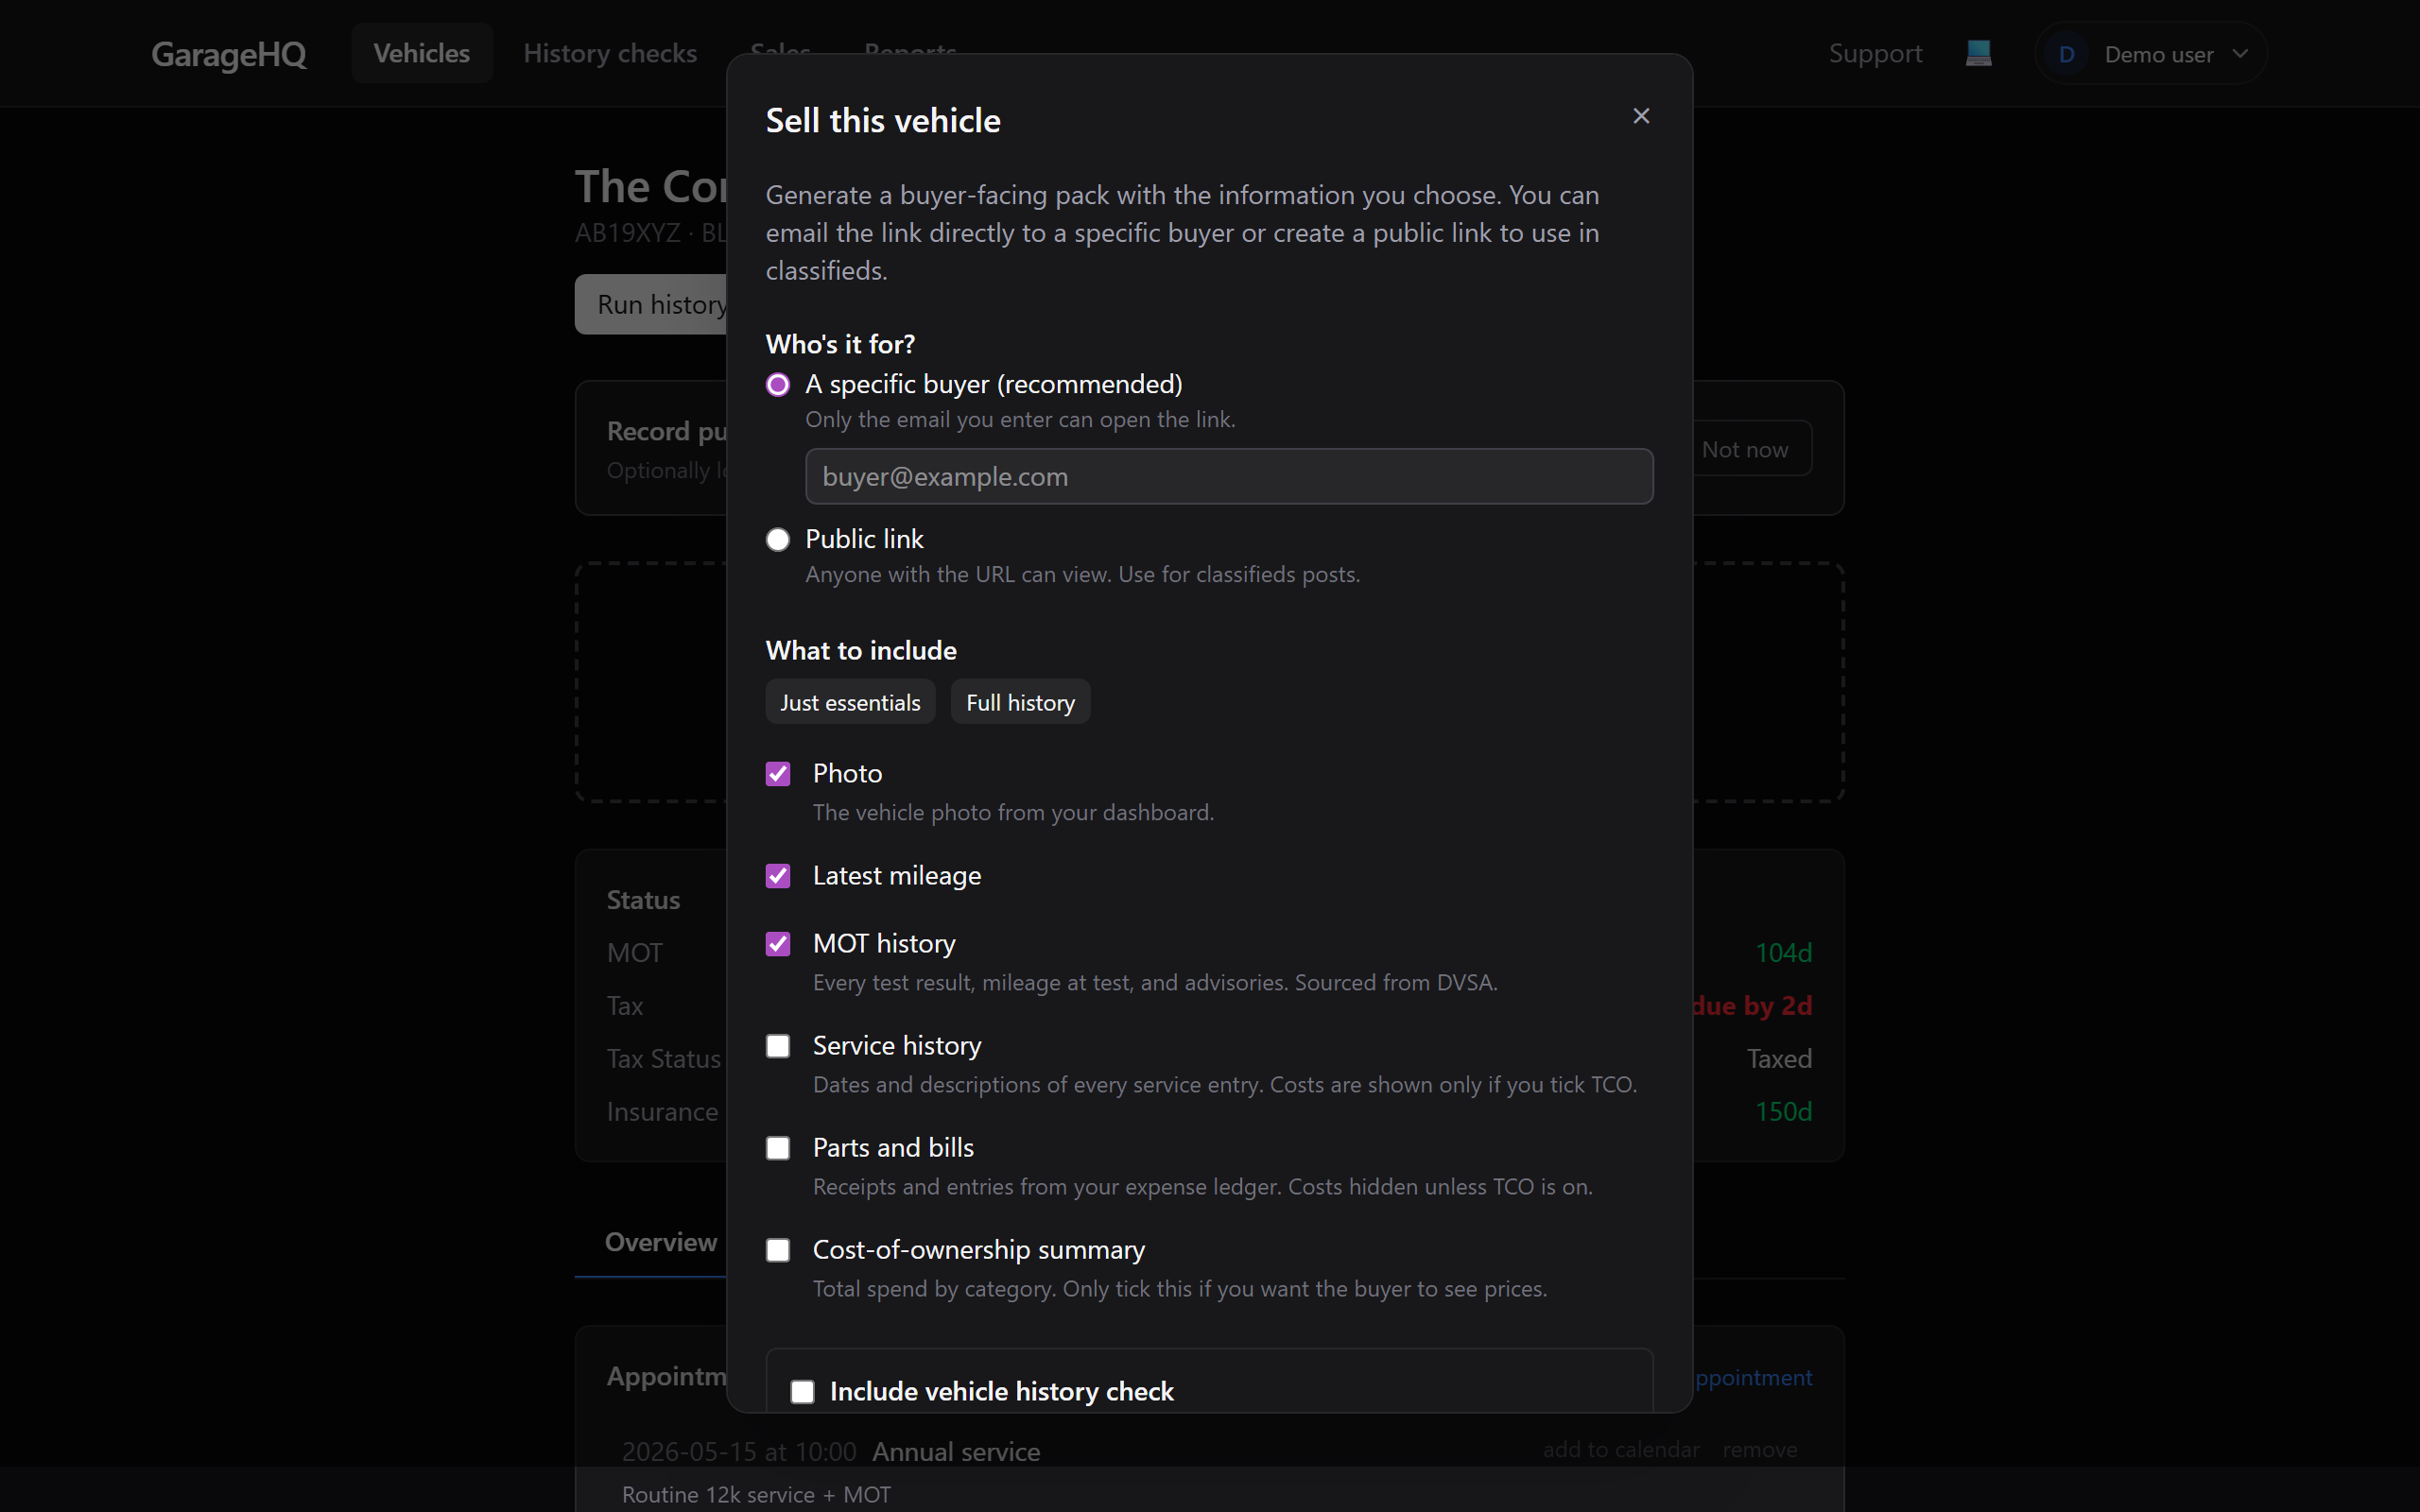
Who's it for?
- A specific buyer (recommended). Enter their email; only they can open the link. They'll need a GarageHQ account to claim the vehicle (sign up takes about thirty seconds).
- Public link. Anyone with the URL can view. Use this for classifieds posts.
What to include?
Vehicle basics (reg, make, model, year, colour) always go. Tickboxes for the rest:
- Photo — your vehicle photo.
- Latest mileage — most recent reading from the mileage log.
- MOT history — every test result + advisories, sourced from DVSA.
- Service history — what was done. Costs hidden unless TCO is also ticked.
- Parts and bills — entries from your expense ledger. Amounts hidden unless TCO is on.
- Cost-of-ownership summary — the running total by category. Only tick this if you want the buyer to see prices.
Two presets at the top: Just essentials (the defaults above) and Full history (everything ticked).
If you've already paid for a vehicle history check from your account, you can bundle it into the pack as a trust signal.
3. Generate and share
Clicking Generate seller pack mints the listing and lands you on the buyer-facing view with a banner you only see (anyone else opening the link won't get the controls).

Three things you can do:
- Copy share link — drops the URL into your clipboard.
- Email link — opens your mail client with subject and body pre-filled.
- Print — clean handover document with the QR code at the top.
The QR is useful for handover paperwork. Print the page, hand the buyer the printout with the keys, and they can scan to keep the digital record.
4. The buyer's view
The buyer opens your link. If you sent it to a specific email, they're prompted to enter that email first; wrong email returns the same "not found" page as a non-existent listing, so a forwarded link doesn't expose your data.
When the buyer clicks Bought this vehicle, they're prompted to sign in or sign up, and a transfer request lands in your account.
5. Confirm the transfer
You'll see a banner on your dashboard plus an email (if you have notifications turned on at Settings → Account → Privacy). Open Sales → Transfers from the top nav to see the request.

Pick what data to transfer (Photo / Mileage log / MOT history / Service history / Parts and bills) and click Confirm transfer. The vehicle and selected data appear in the buyer's account immediately.
Email mismatch
If the buyer's GarageHQ account email is different from the email you sent the listing to, the confirm dialog warns you. Real buyers often use multiple email addresses; if you recognise the person, confirm. If not, decline.
6. After the transfer
Your original vehicle row stays in your account marked (sold). Reminders for that vehicle stop firing. Your service-history record (the work you did) is preserved on your side; the buyer also has a copy on theirs.
If the sale doesn't go through GarageHQ — sold to a dealer, sold to someone not on the platform — use Mark as sold on the vehicle detail page (bottom of the Settings tab, next to Delete). Same effect: reminders pause, the (sold) banner shows, and you can delete the vehicle whenever you're ready.
If you want to record what you sold the vehicle for, the Settings tab's Edit form has an optional Sale price field. See Logging purchase and sale price.
What next?
- Tracking vehicle costs to build up the data you'll later sell with.
- Running a history check to bundle a paid VHC into your seller pack.
- Member roles explained if you're selling between members of the same org.