Running a vehicle history check
GarageHQ can run a full provenance check on any UK-registered vehicle. The report covers eight signals: stolen register, insurance write-off, outstanding finance, mileage anomalies, MOT history, previous keepers, plate and colour changes, and import markers. This guide walks through starting a check, confirming the charge, reading the result, and what to do if something goes wrong.
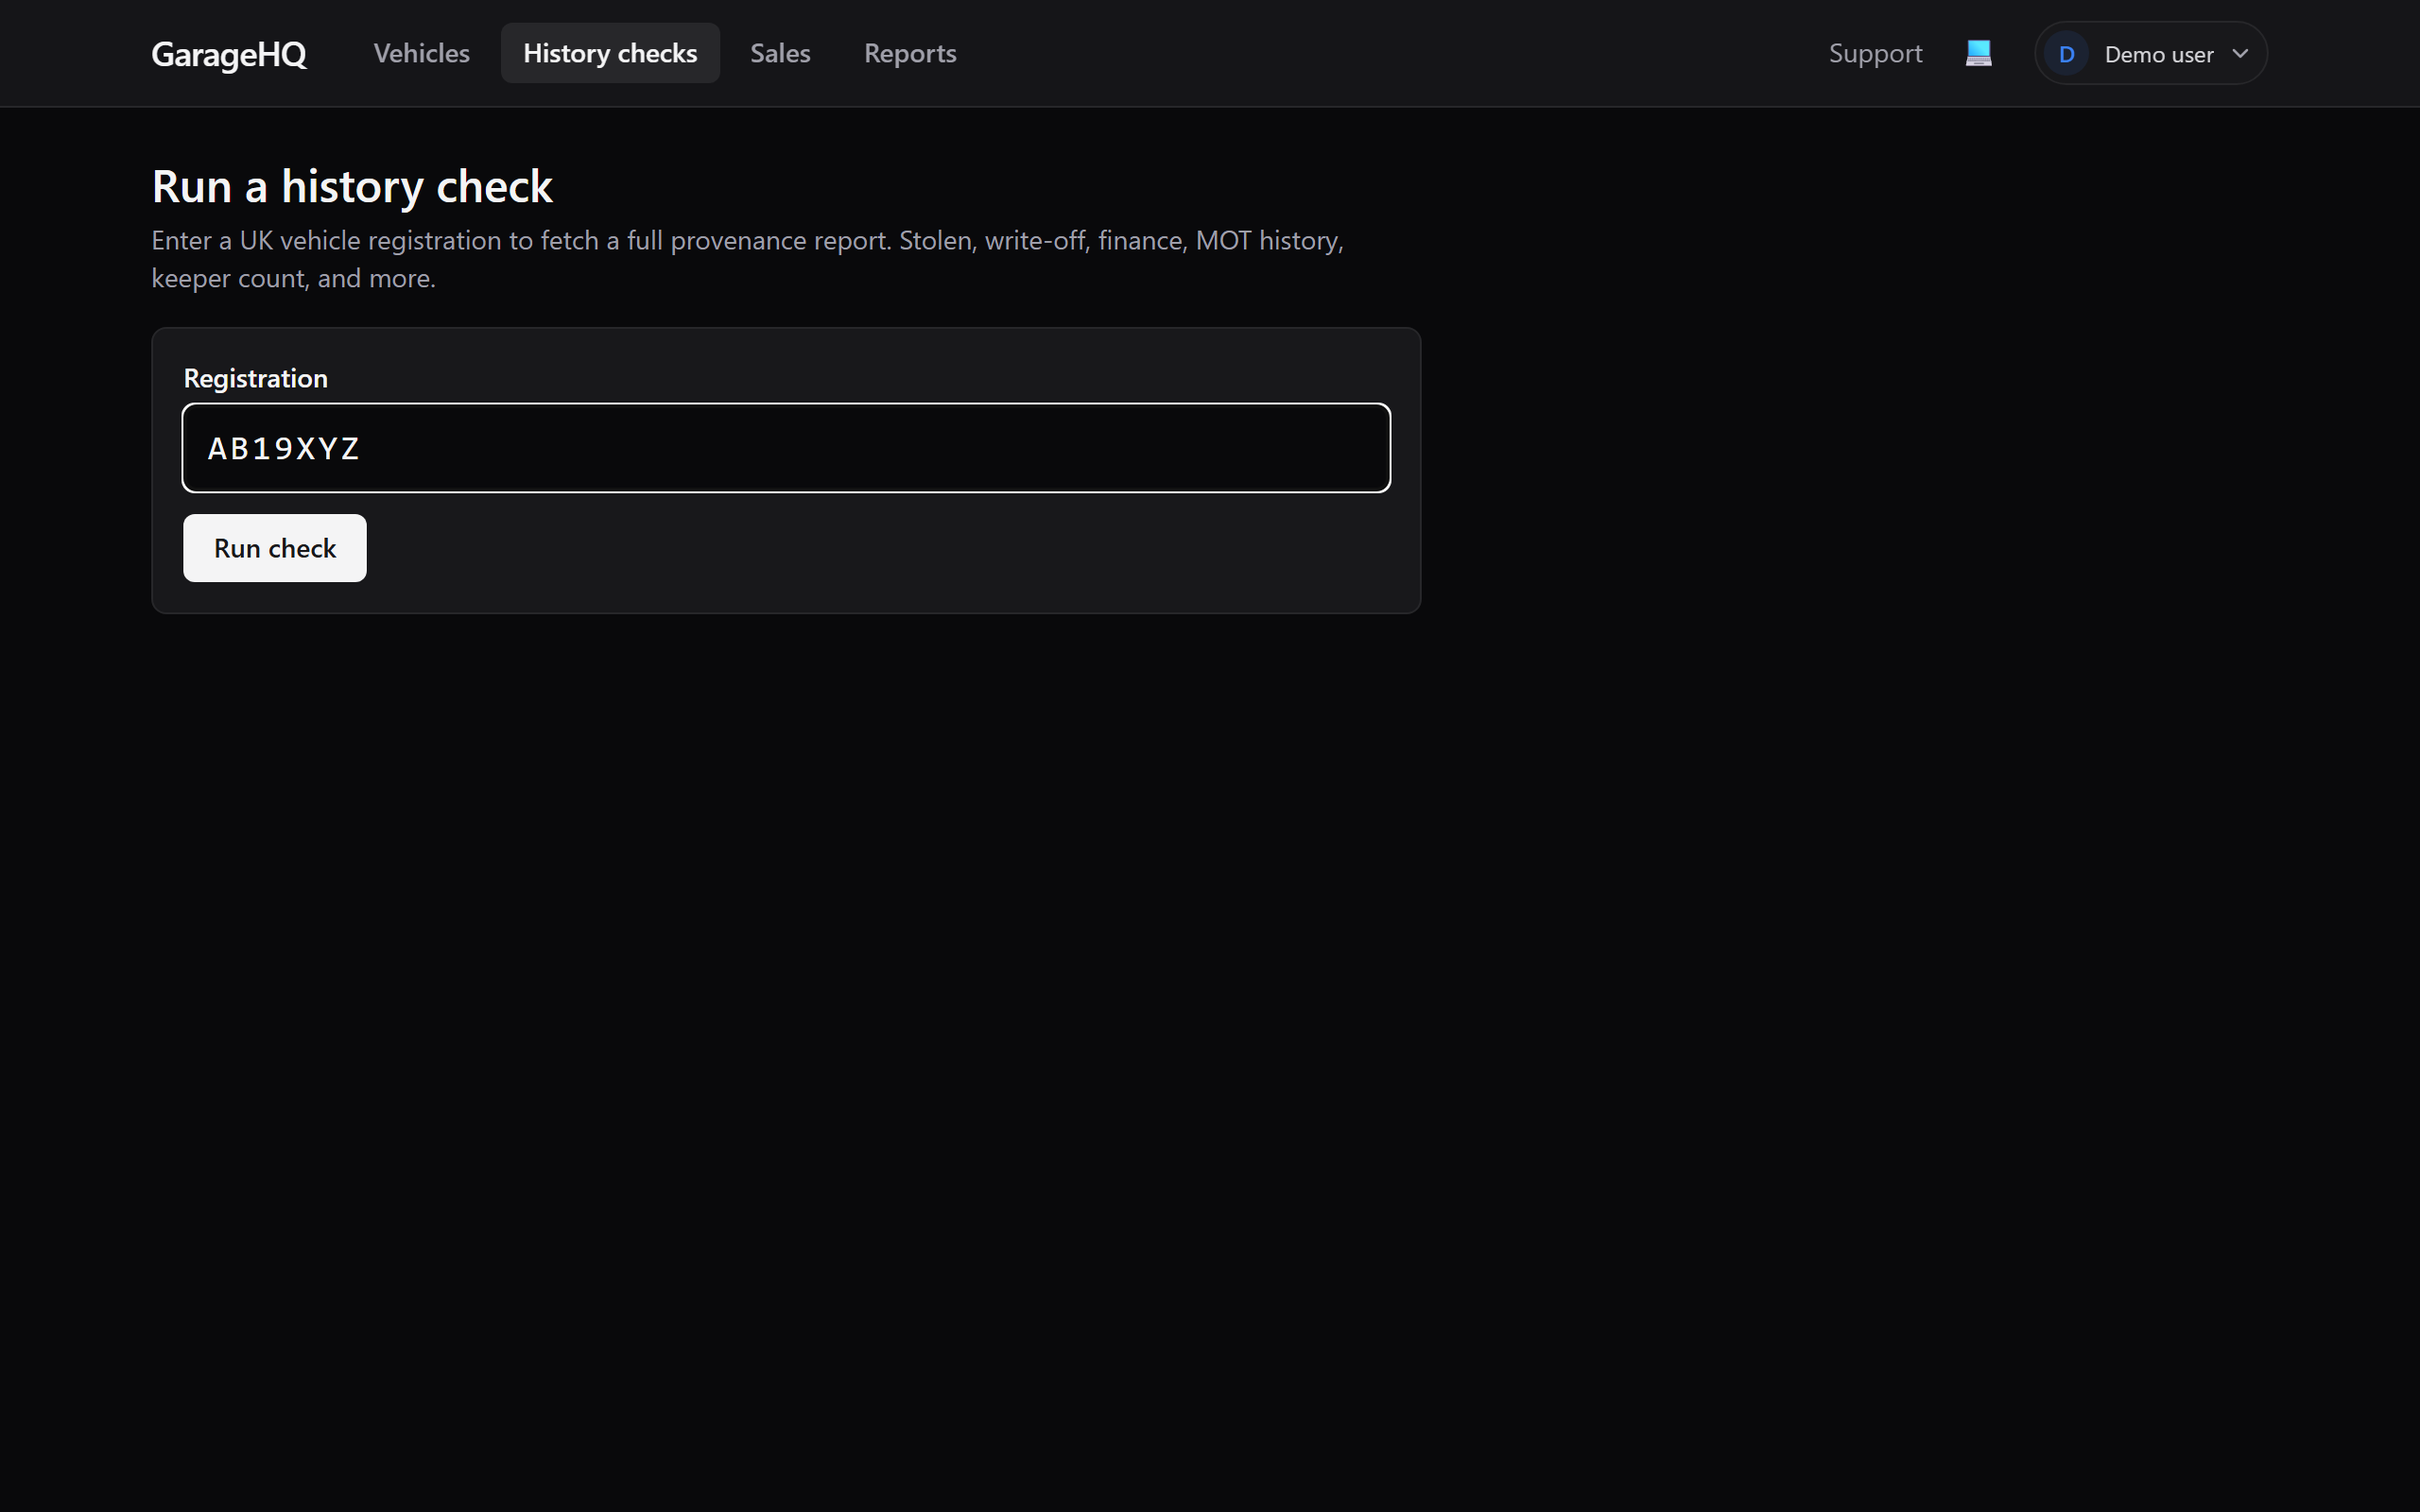
1. Open /checks/new
From the left navigation, click Checks, then Run a check. You can also start a check directly from a vehicle's detail page using the Run history check button at the top.
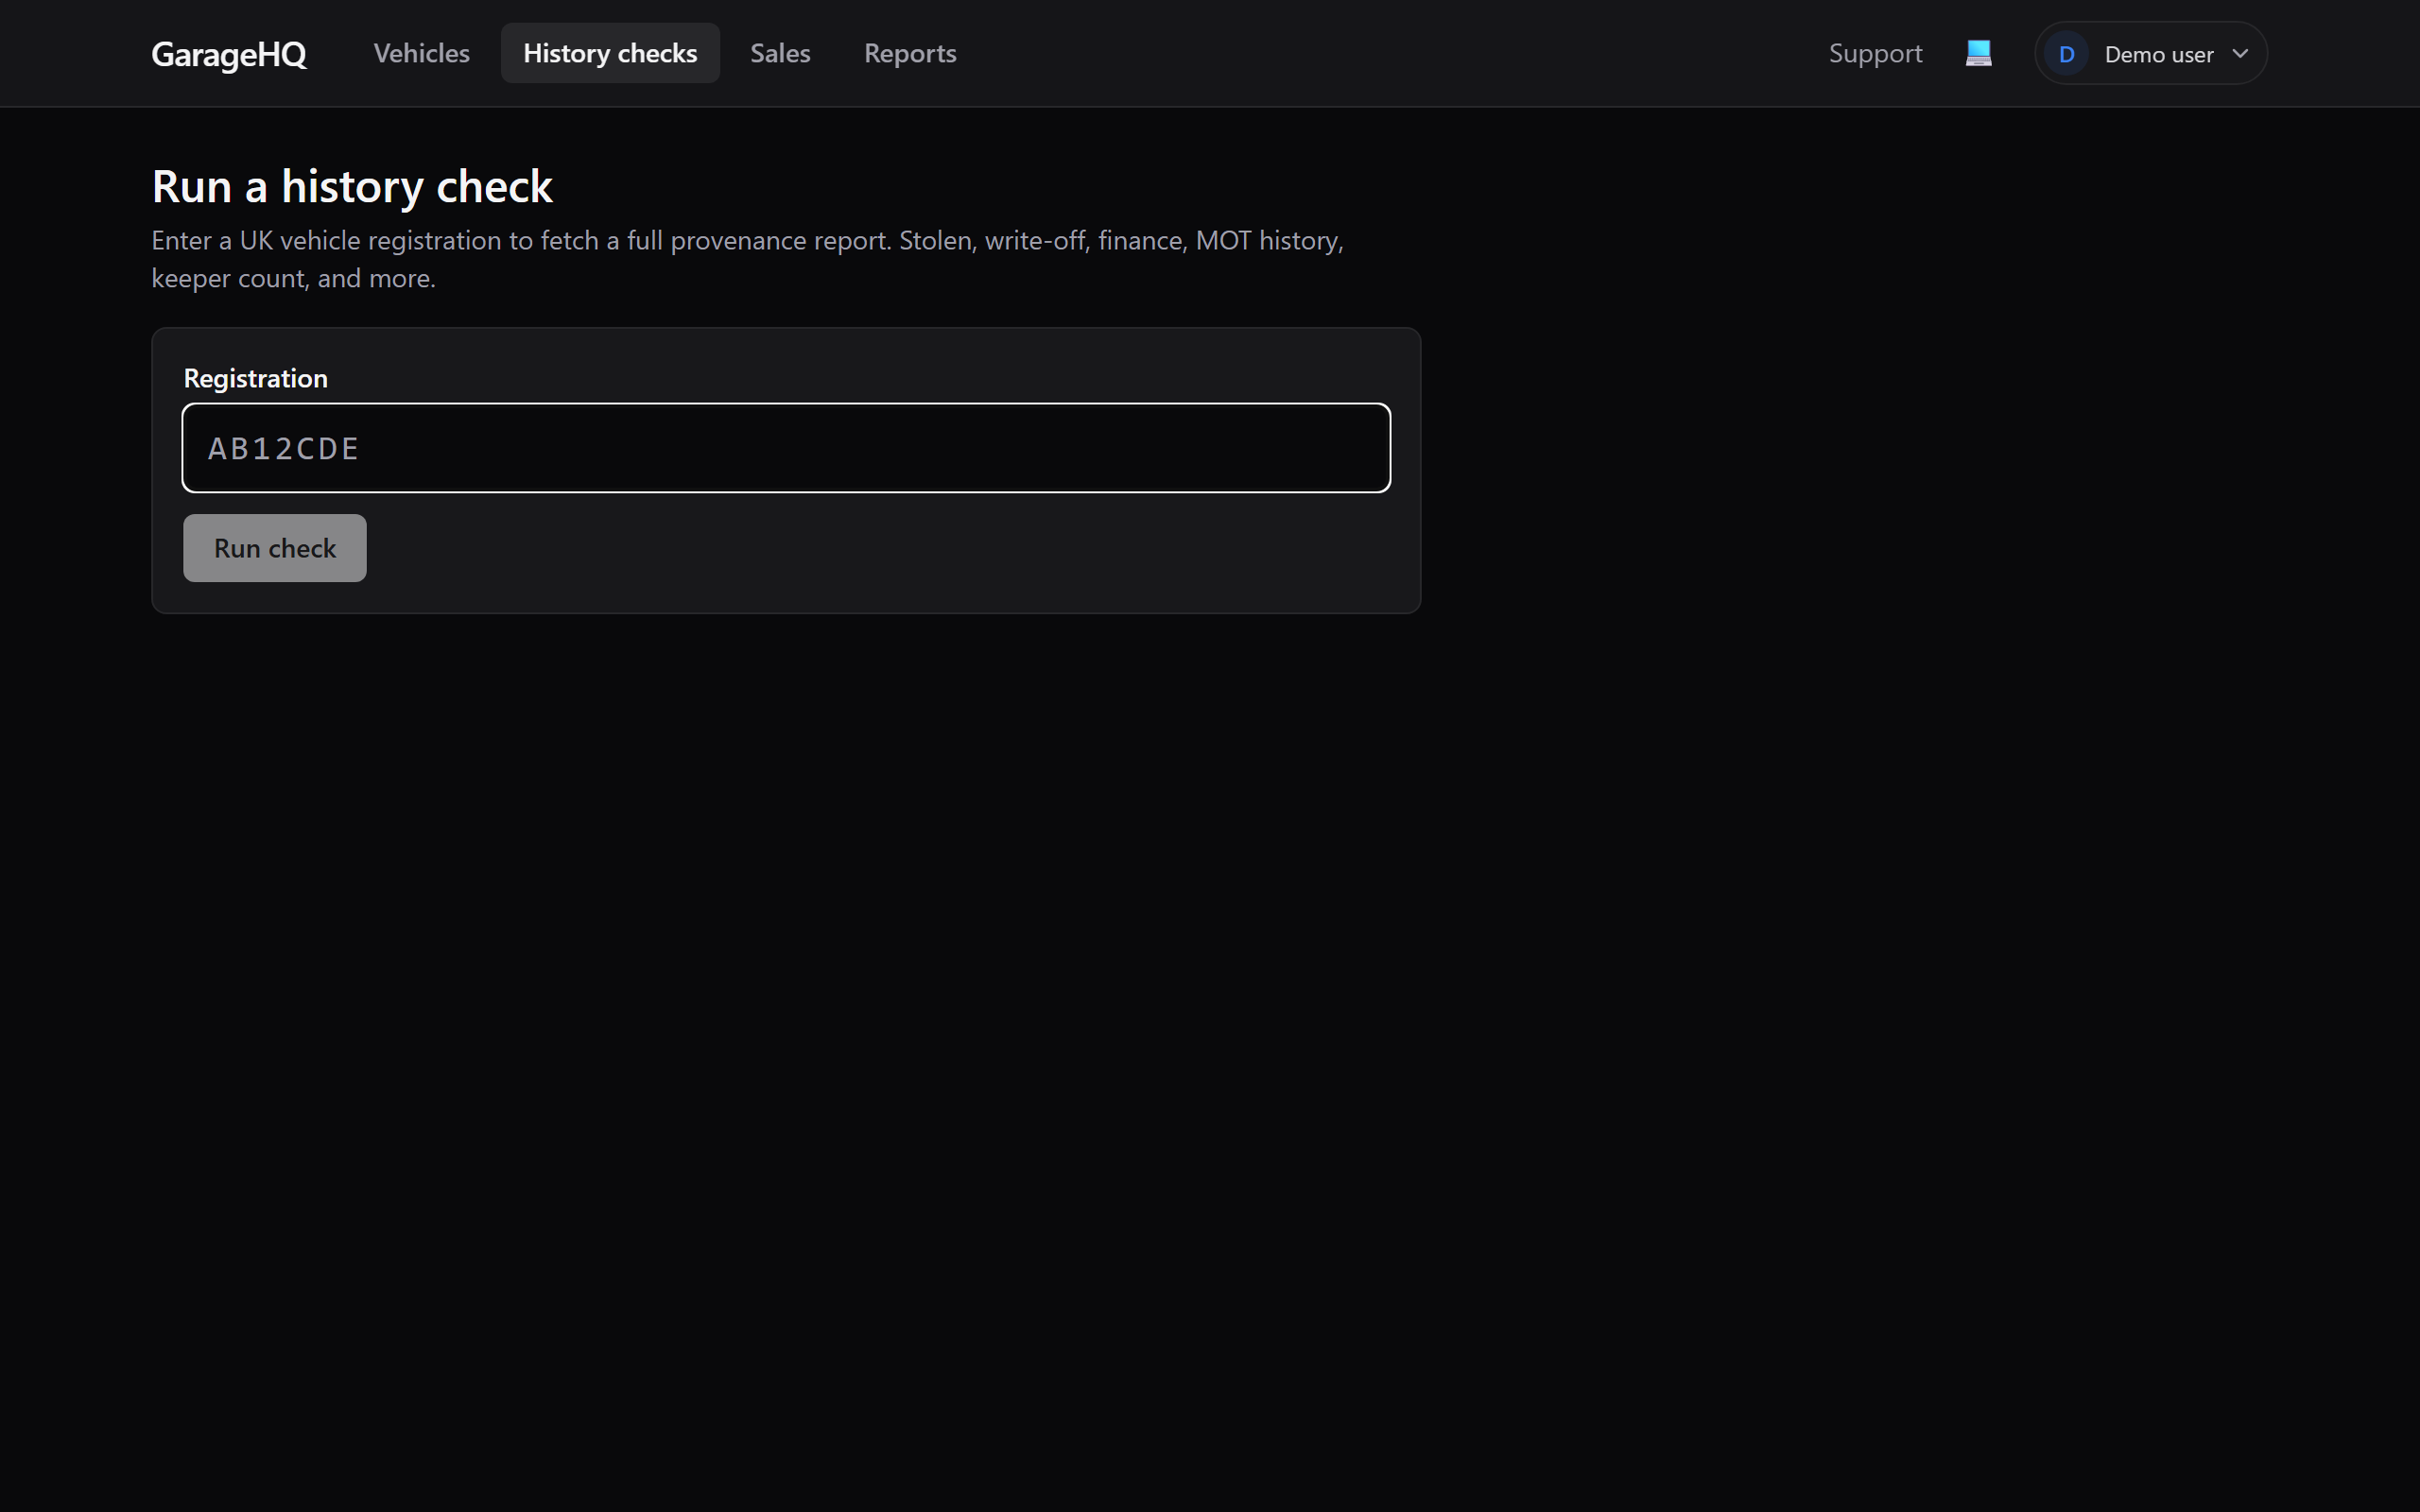
2. Enter the registration
Type the reg into the field. Format doesn't matter. AB12CDE, ab12 cde, or AB12 CDE all work. Click Run check.
3. Confirm on the preview card
Before any charge is taken, a confirm card appears showing:
- The registration you entered.
- The colour, year, make and model that DVLA has on file for that reg.
- The exact amount you'll be charged and which card it'll hit (for subscribers) or which checkout provider will handle it (for pay-as-you-go).
- Your plan's rate and a short note on how the charge relates to your subscription invoice.
Click Yes, charge £X.XX and run to proceed. Subscribers are charged off-session against their saved card; pay-as-you-go users are redirected to Stripe Checkout.
4. Read the report
Within about a minute the report appears on screen. Each signal is presented as a traffic-light card:
- Green = no concern found.
- Amber = investigate before buying.
- Red = serious red flag; do not proceed without a solid explanation.
A receipt banner sits under the report showing the amount charged, the date, the tier that was applied, and a Stripe reference for the payment.
5. Download or print the PDF
Click Download PDF on the report page. The print view opens in a new tab and triggers your browser's print dialog. Save as PDF, or send it straight to a physical printer. The PDF is always styled for light paper even if you use the app in dark mode, and every MOT test entry is auto-expanded so the printed version includes the full defect detail.
Retrying a failed check
Occasionally a check fails before the report is produced. This can happen if the provider rejects the request or returns corrupt data. When that happens:
- Any charge that went through is automatically refunded by Stripe. You'll see the refund in your bank within 2 working days.
- The failed check appears on your checks dashboard with a Retry and a Remove button.
Click Retry to run the same registration again on a fresh request; the failed row is removed before you land on the new check form. Click Remove to delete the failed row without retrying.
Pricing at a glance
| Plan | Monthly | Per-check rate |
|---|---|---|
| Pay as you go (no subscription) | £0 | £13.99 |
| Personal | £3.99 | £9.99 |
| Garage | £14.99 | £6.99 |
| Garage+ | £24.99 | £4.99 |
The rate that applies is the one active at the moment of confirmation. Changing plans after you've already paid for a check doesn't retroactively change the price.
If you paid £13.99 as a pay-as-you-go user and then subscribe from the report page within 30 minutes, the saving you would have had as a subscriber is credited against your first month. See the conversion credit article for how that works.